banner


How To Repair Sprinkler Elbow

H2o Works

Past Larry Walton, Photos by Tim Walton

It's non important to know that my blood brother Chad backed a trailer over our broken sprinkler. The important thing is that we get it fixed. Of course my brother, Chad, the one who broke this sprinkler, was nowhere to exist found when it came time to repair this matter, merely I'grand not dwelling on it because

I only need to become it washed—fifty-fifty without my brother'south help.

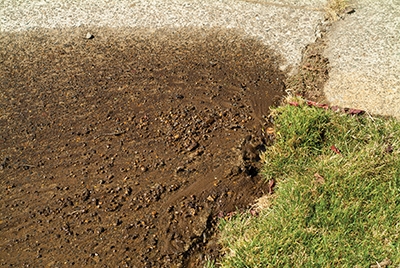
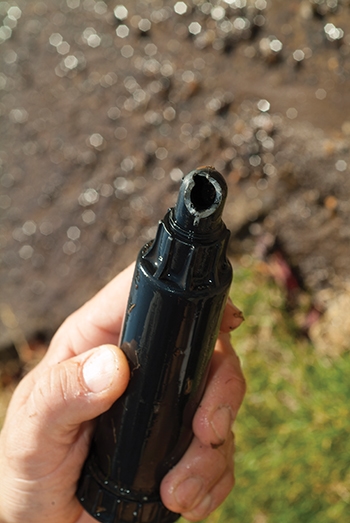
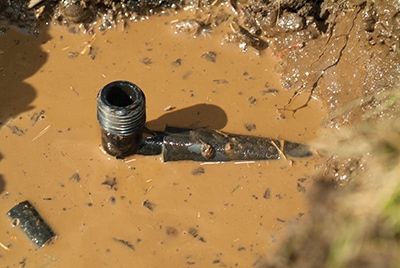
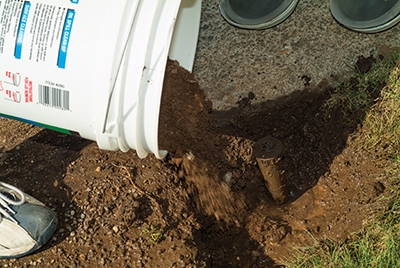
The fact that the geyser coming from the thou was depositing clay and rocks on the sidewalk indicated that the break was down deep rather than higher on the pop-upwardly sprinkler. Sure enough, when I pulled on the sprinkler caput, it came right out of the ground. I was disappointed to see that this was not but a broken riser. In that case an extraction tool could have gripped the remaining riser pipe to back information technology out. Finishing the fix would only require threading in a new i.

Time to go out the shovel and get down to the heart of the affair. A give-and-take of caution here: Be careful with the shovel because y'all tin cause a problem worse than the one you are trying to fix.

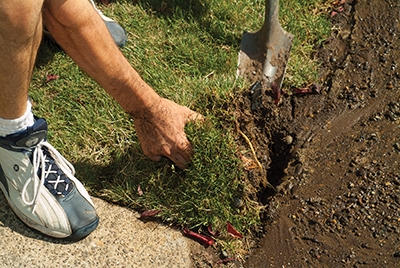
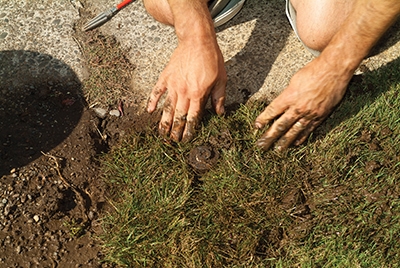
The goal when getting through the grass is to fold back the sod and so you can replace it in one piece when the sprinkler repair is done. Y'all have to go deep plenty to avoid damaging the roots of the grass but not and then deep that you lot get into the piping that feeds the sprinkler.

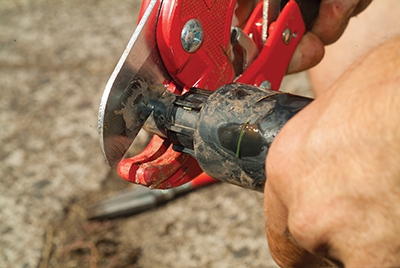
Unless you installed the sprinklers to brainstorm with, yous probably volition not know the type of pipes that are under the backyard. Even if you take a good judge, y'all'll still need to dig down to the pipes so you tin can run into what parts you'll need.

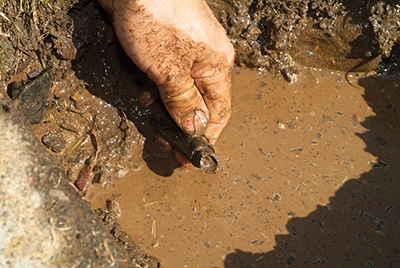
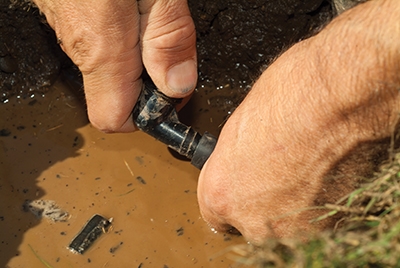
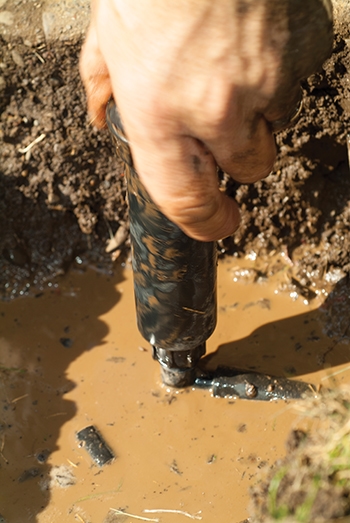
In our case, the pop-upwardly sprinkler was fed with flexible piping. This was not the super flexible pipe like Rainbird Swing Pipe or Toro Funny Pipe. However, the previous homeowner used the same type of fitting that these pipes utilise. The barbed fitting simply pushes into the finish of the pipe, going ane direction merely not the other.

Here's how I got this repair done without my blood brother's assist.

When I looked out and saw a geyser at the corner of the lawn, I shut the sprinkler zone off and saw that the water had deposited a fair amount of dirt and rocks on the sidewalk. This meant the problem was deep enough below the sod to blast out some substance.
When I looked out and saw a geyser at the corner of the lawn, I shut the sprinkler zone off and saw that the water had deposited a off-white amount of dirt and rocks on the sidewalk. This meant the trouble was deep enough below the sod to smash out some substance.
By pulling up the pop-up sprinkler head, we could see that the elbow fitting that connected the sprinkler head to the flexible pipe was broken at the turn in the elbow.
By pulling up the pop-up sprinkler head, we could see that the elbow plumbing equipment that connected the sprinkler head to the flexible pipe was broken at the turn in the elbow.
The initial goal in digging up the pipe is to fold back the sod without damaging the roots of the grass.
The initial goal in digging upwardly the pipe is to fold back the sod without damaging the roots of the grass.
After removing the sod and carefully digging down to the pipe, I found that the other half of the broken elbow was still in the flexible pipe.
After removing the sod and carefully digging down to the pipage, I found that the other half of the broken elbow was however in the flexible pipe.
I used pipe cutters to cut the pipe just beyond where the broken fitting extended into the pipe.
A 90-degree barbed elbow simply replaces the broken fitting.
A ninety-degree barbed elbow simply replaces the broken plumbing fixtures.
I inserted the barbed fitting into the pipe until you could no longer see the ribs or barbs.
I inserted the barbed plumbing equipment into the pipe until you could no longer see the ribs or barbs.
I used the pipe cutters to grip the broken connector to unscrew it from the sprinkler head.
I used the pipage cutters to grip the cleaved connector to unscrew information technology from the sprinkler caput.
The sprinkler body threads onto the elbow fitting.
The hole needed some extra dirt before replacing the sod.
The hole needed some actress dirt before replacing the sod.
I put the sod back in place around the sprinkler head.
I started the sprinkler zone with the sprinkler nozzle removed from the riser to clear debris from the pipe.
After replacing the nozzle, I adjusted the sprinkler and tested it for the running time of the zone.

Source: https://extremehowto.com/poly-pipe-sprinkler-repair/

Posted by: williamsthisere.blogspot.com

0 Response to "How To Repair Sprinkler Elbow"

Post a Comment

Iklan Atas Artikel

Iklan Tengah Artikel 1

Iklan Tengah Artikel 2

Iklan Bawah Artikel